Flow Fields
If you're looking for the generator, you can find it here. If you're looking for the code, you can find it here.
This week, I've been working on a procedural art generator that uses flow fields to create interesting patterns. Inspired by this post by Damoon Rashidi I saw on Hacker News and the the linked resources, I decided to try my hand at creating my own canvas-based generator which could be accessible to non-coders.
What is a Flow Field?
A flow field is essentially a function, which takes in x and y positions and returns a single value. This value can be interpreted as a direction, and the flow field can be used to create interesting patterns by sampling the field at different positions and drawing lines at these points, pointing in the direction.
A common way to get a flow field is to use a noise function, which takes in a position and returns a value, usually between -1 and 1. We can then remap this value to a value between 0 and 2π, and treat this as the angle in radians for a 2D vector. With enough samples, the flow field's pattern starts to emerge.
Perlin Noise
One of the most common noise functions is Perlin noise, which is a type of gradient noise. It was invented by Ken Perlin in 1983 for use in the movie Tron and has become nearly ubiquitous in procedural generation. The defining property of Perlin noise is that it is smooth, meaning that it changes gradually over space, which is ideal for creating flow fields.
I used a JavaScript implementation of Perlin noise from an Observable notebook by Mike Bostock.
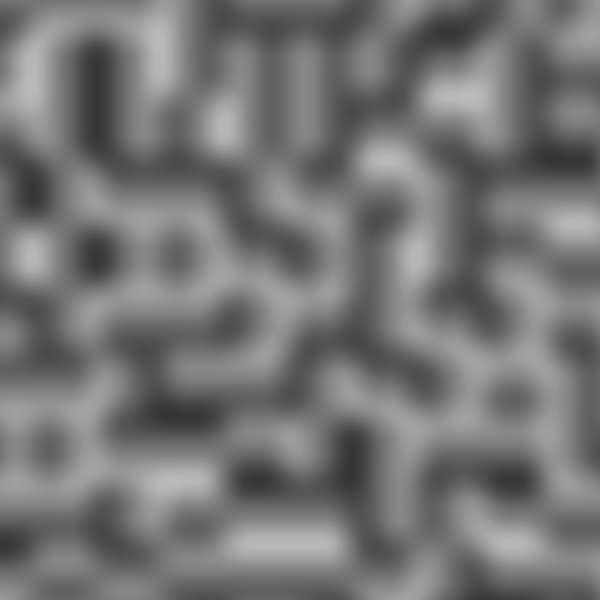 Perlin Noise
Visualizing Flow Fields
To start, I created a simple visualizer for a flow field, which takes in a function and samples the function at many points. Then, it draws a line at each point, pointing in the direction of the function's value at that point.
Sampling along a grid gives a good idea of the overall pattern of the flow field, but a more random sampling can give a better sense of what the flow field will look like when drawing lines.
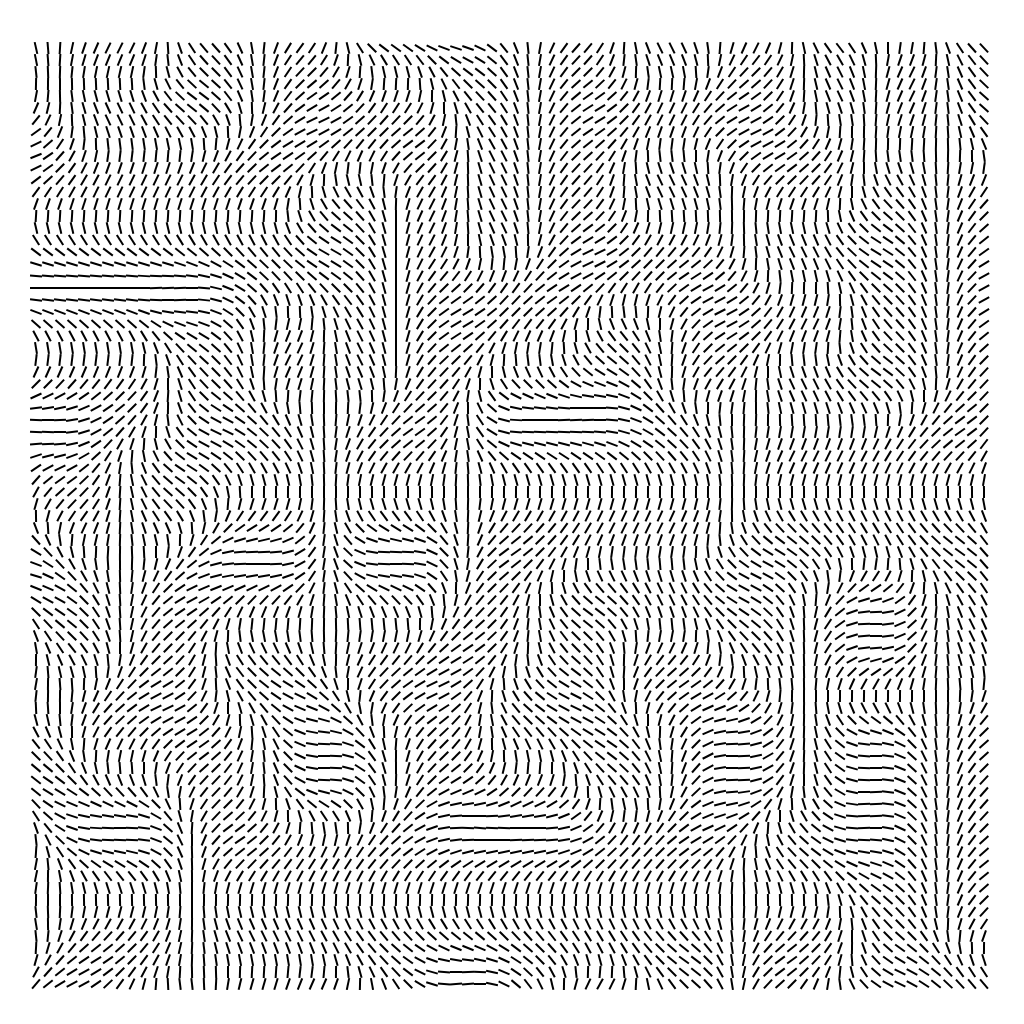 Sampling a flow field along a grid
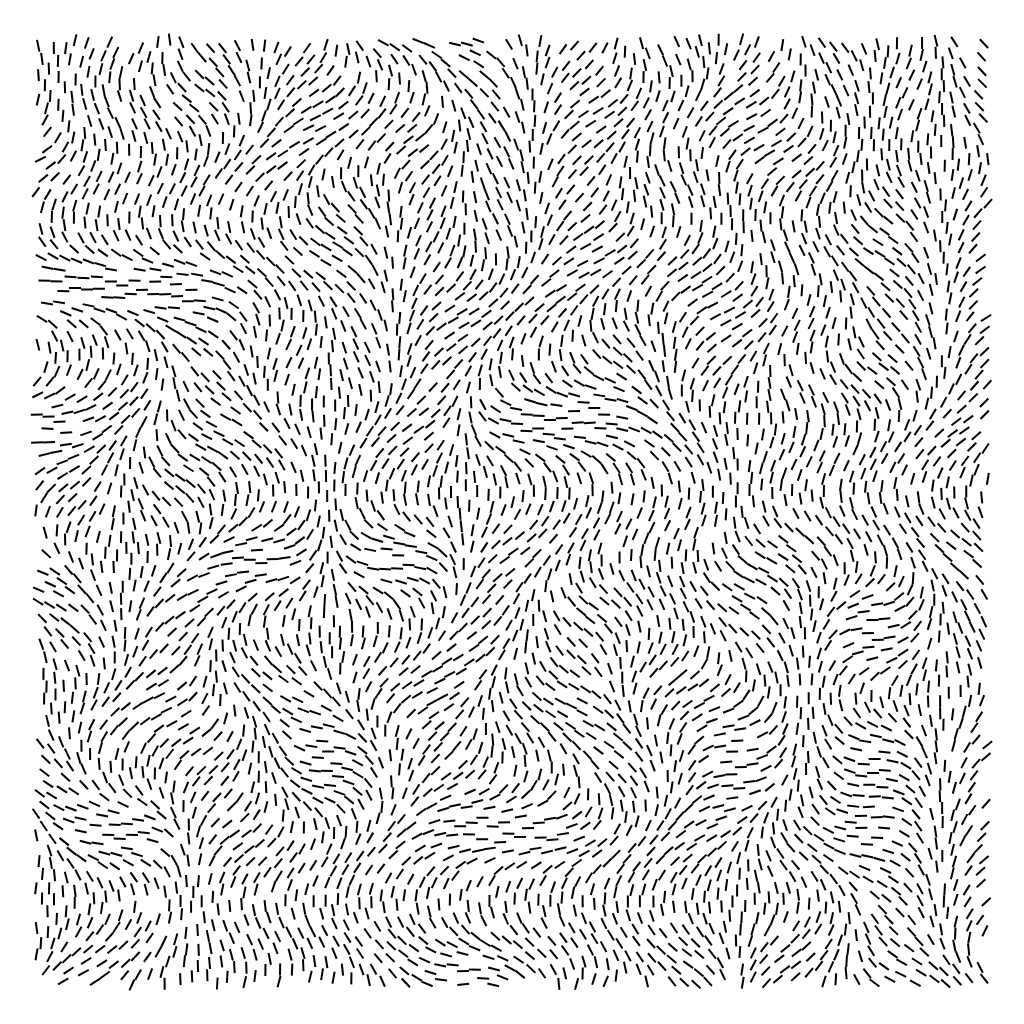 The same flow field, sampled using Poisson Disc Sampling
Drawing Lines
Now that I had a way to visualize flow fields, I needed a way to draw lines through the flow field. The first method I tried simply sampled the flow field at a random point, drew a line segment, then moved in the direction of the flow field by a fixed amount and repeated the process. This worked, but the lines were unevenly spaced and collided with each other, which made the overall pattern messy.
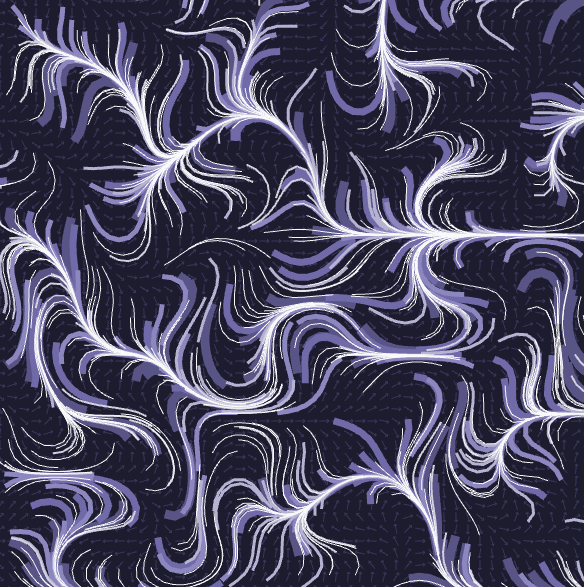 Drawing lines using random seed points
Collision Detection
I decided to fix the issue with lines colliding with one another first. To check whether a point is too close to any other point would require checking the distance between the point and every other point, which would be extremely slow. Instead, I bucket each point into cell on a grid, and only check the distance between points in the cells directly adjacent to the cell the point is in. This process is described in more detail in Damoon Rashidi's post.
The result is lines which stop when they get too close to another line.
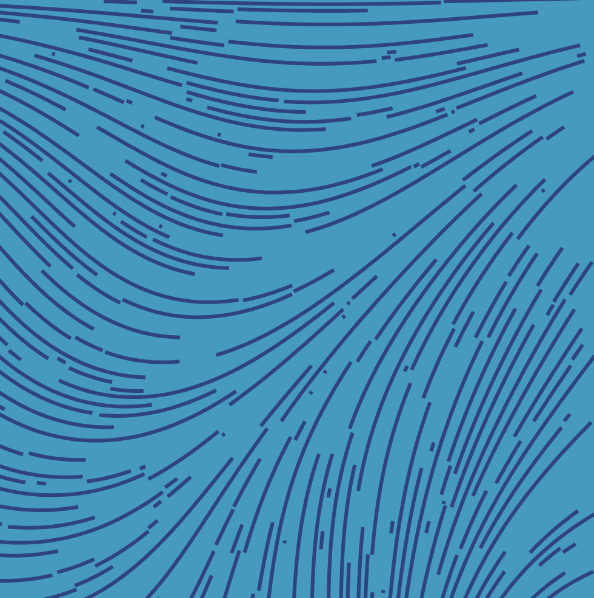 Avoiding collisions between lines
Evenly Spaced Lines
Next, I wanted to improve the method of picking the starting point for the next line. I found a great paper linked from a blog post by Tyler Hobbs, which describes a method of drawing evenly-spaced lines using a flow field. The idea is to pick an initial position and draw a single line. Once the line is complete, we sample points at a fixed distance adjacent to our line until we find a valid position for our next line. We repeat the process until we've drawn a certain number of lines, or we can't find a valid starting position for another line. This method works "outward" from the starting line and produces more evenly-spaced lines than the random method.
Debugging this method was a bit tricky, but I eventually got it working.
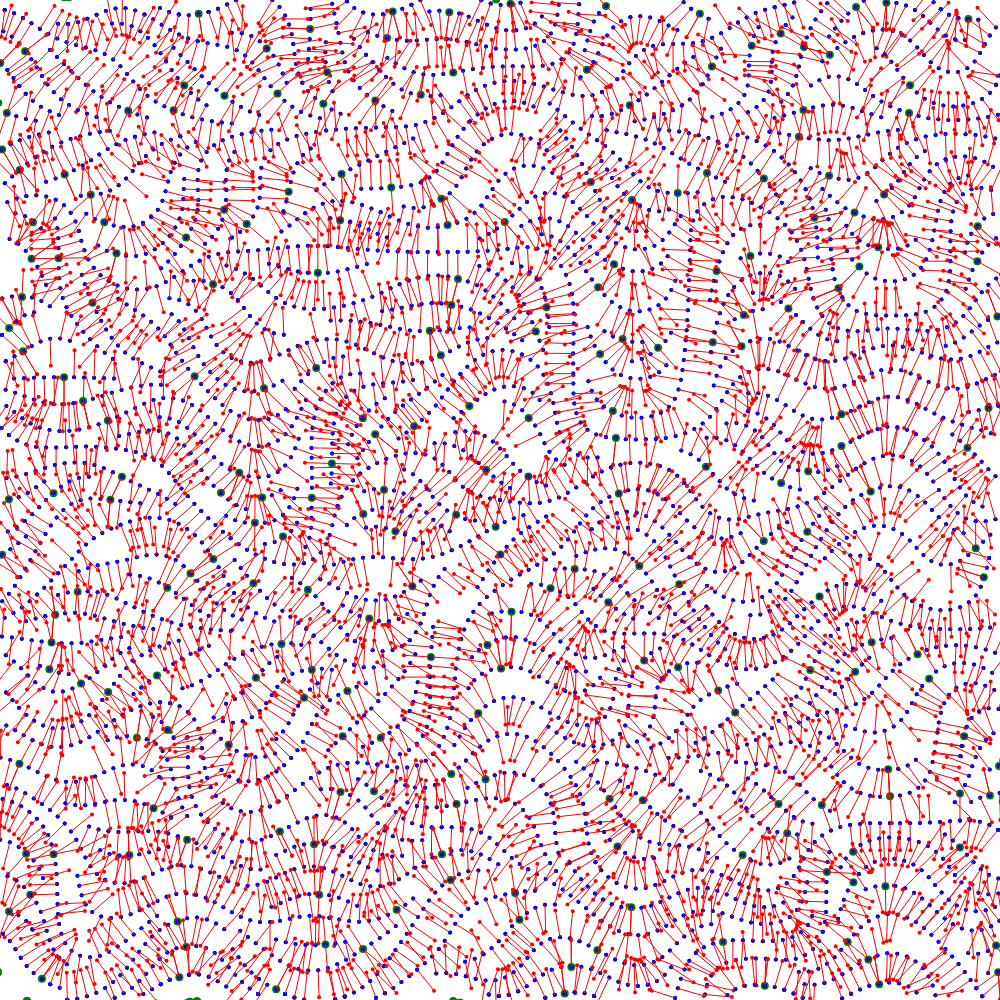 Debugging the evenly-spaced method. Red lines show checks for valid starting positions
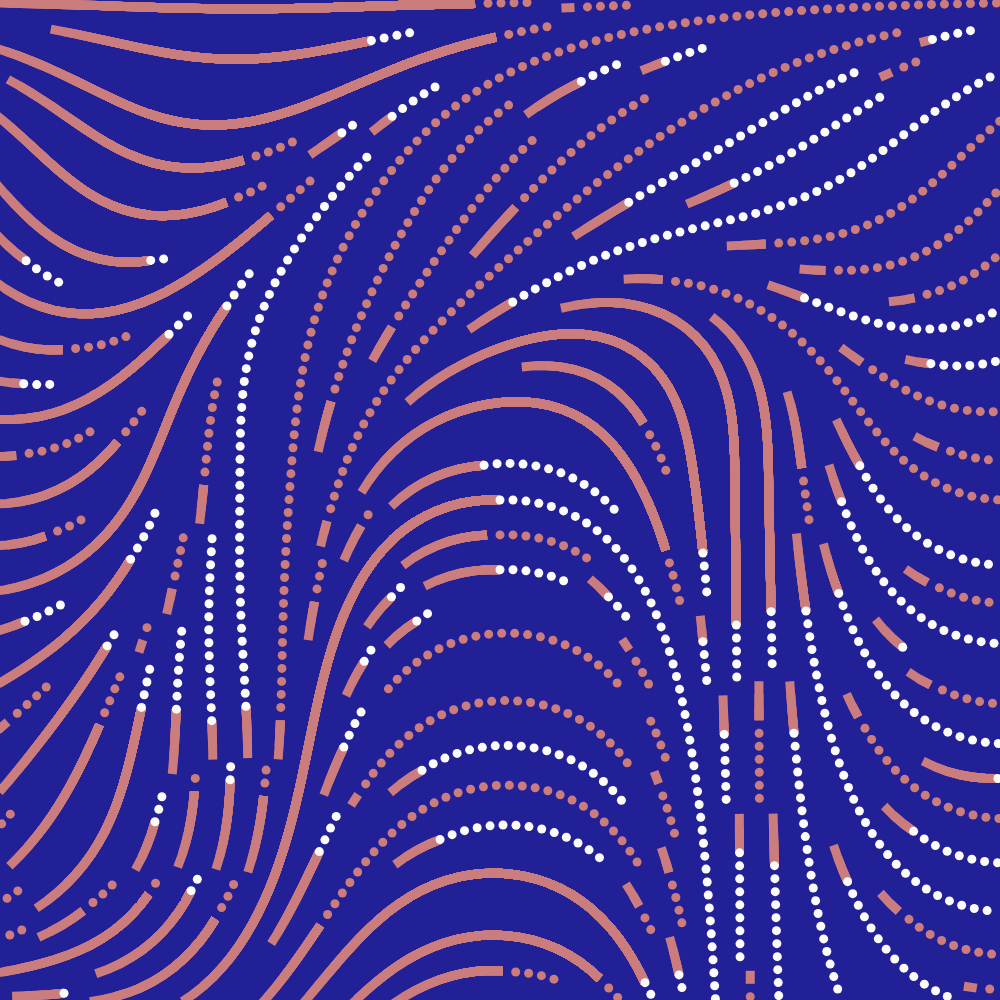 Drawing lines using the evenly-spaced method
Building the Interface
Finally, it was time to build the interface for the art generator. I grouped the controls into four sections:
- Flow field controls: Allow the user to choose the type of noise function and adjust the parameters of the noise function
- Line controls: Allow the user to choose line properties like line count, segment length, and minimum/maximum thickness
- Rendering controls: Allow the user to choose whether to draw solid or dotted lines and adjust the color palette
- Framing controls: Allow the user to choose the shape and size of the border and background
I also added a new type of flow field, which uses points outwards from a center point and curves the lines as they move away from the center. I call this type of flow field a "radial flow field".
 The interface, as of this writing, showing a radial flow field
Results
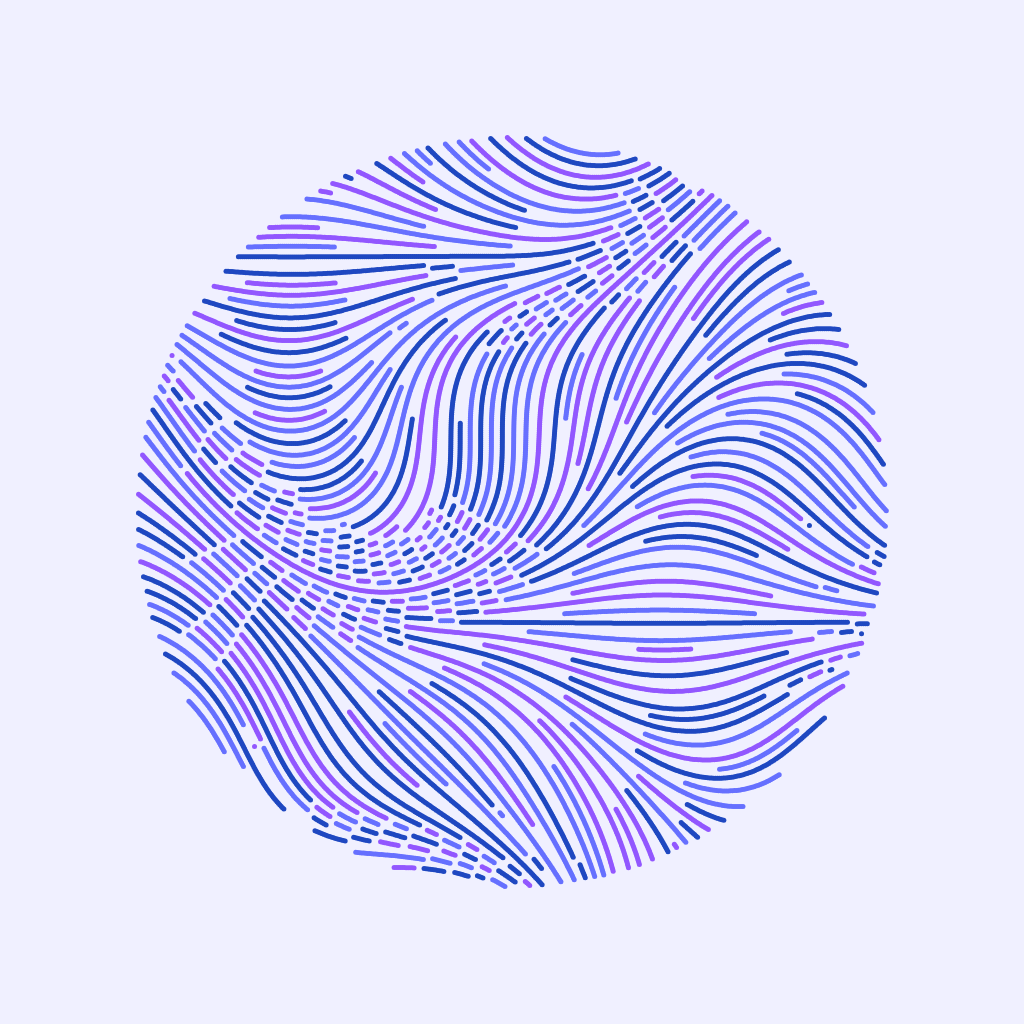
Here are some of the results I've managed to get so far. If you'd like to try it out yourself, you can find the generator here. I'd love to see what you come up with!
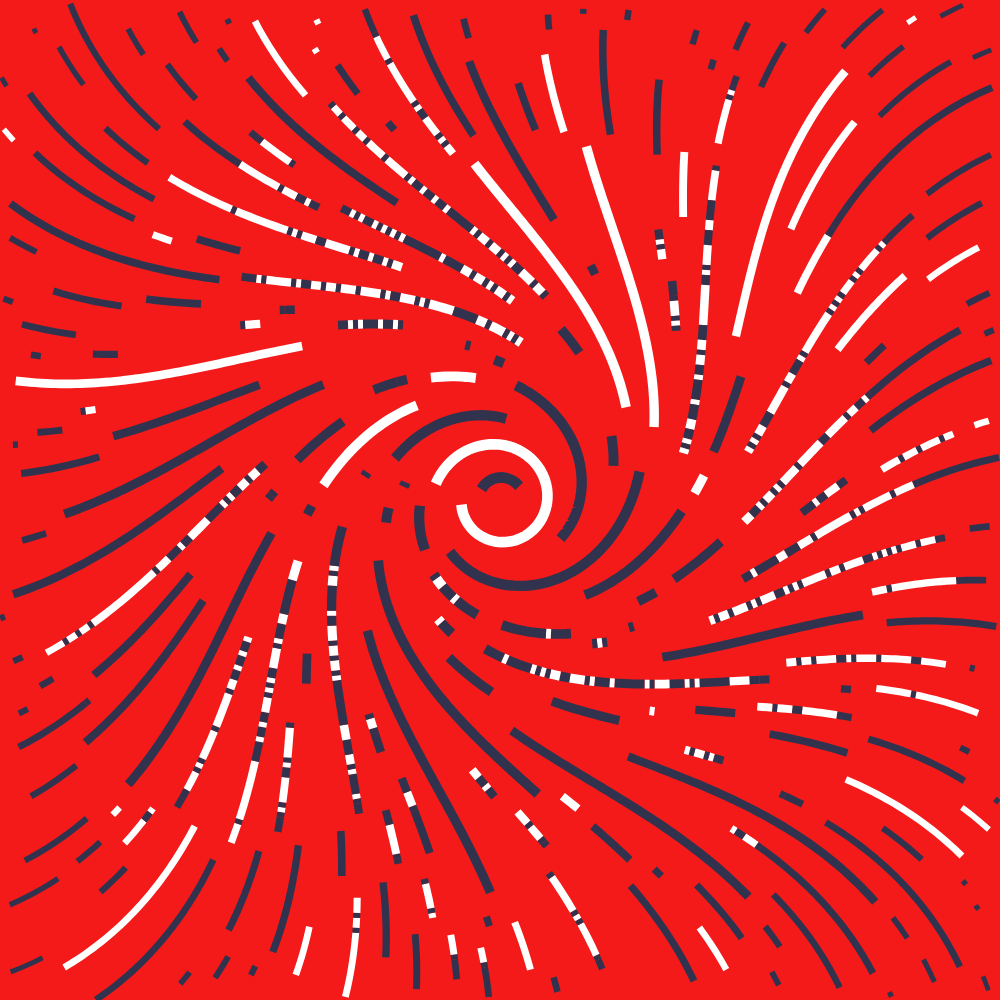 Swirly
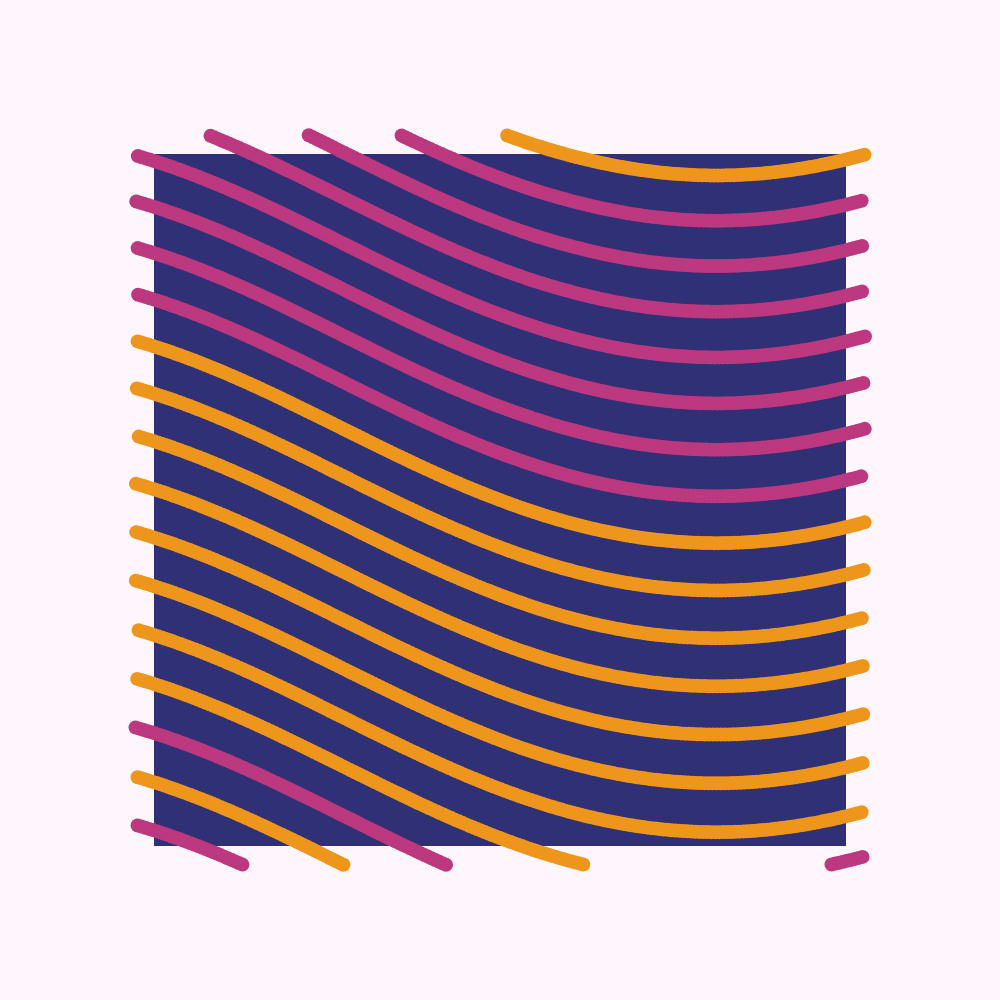 Border Wave
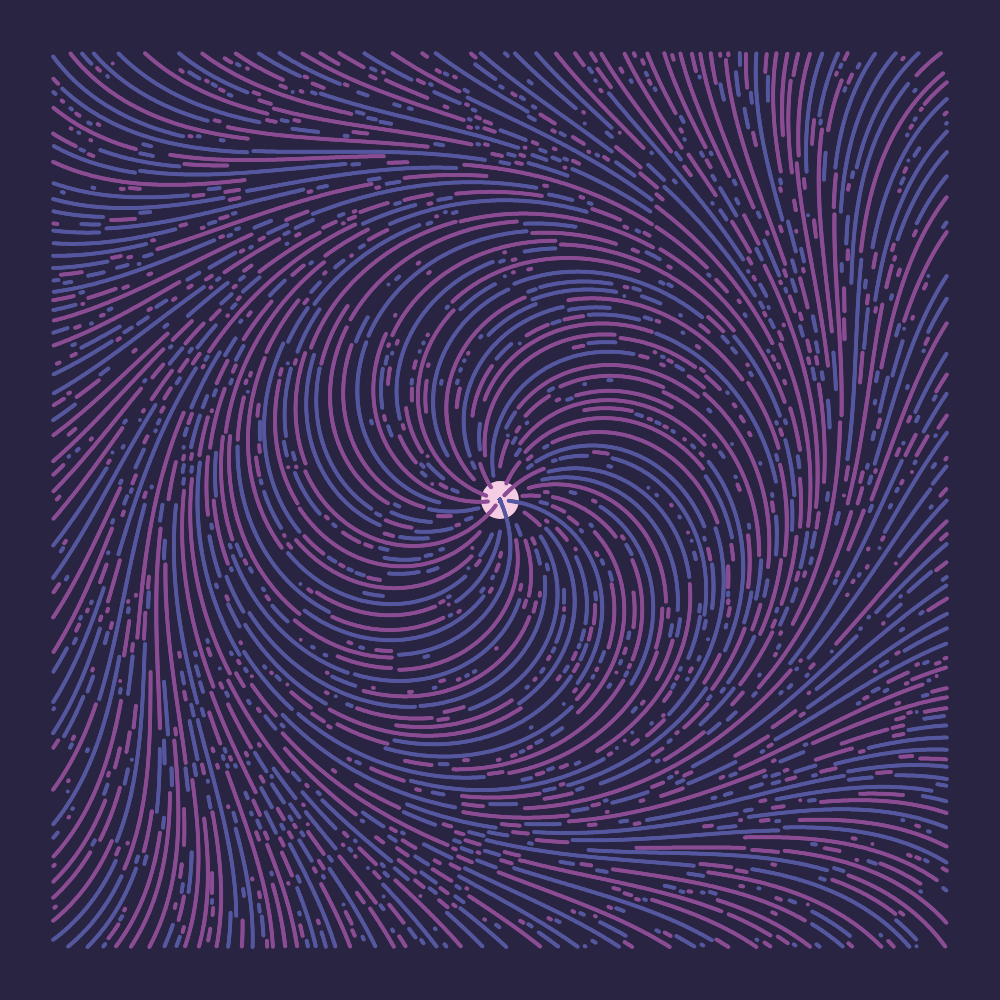 Something From Nothing
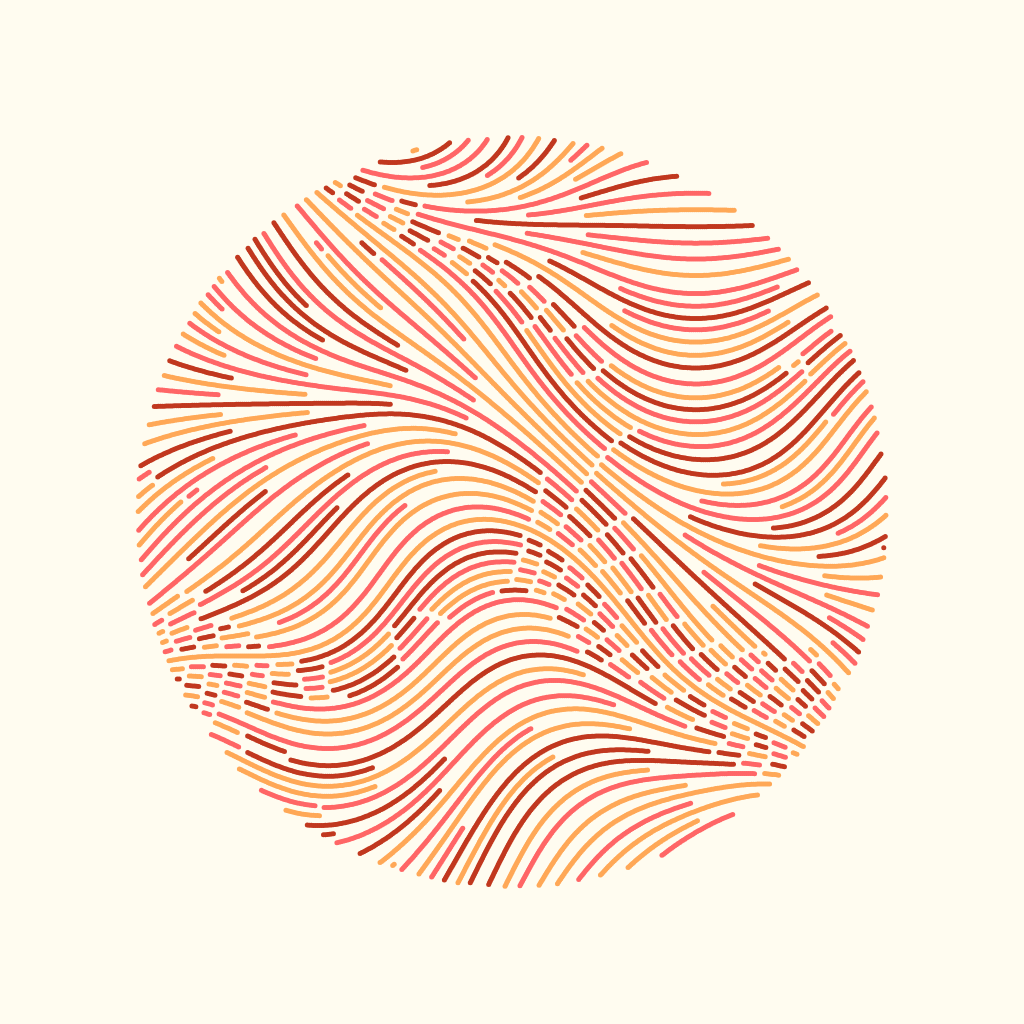 Mars
Mars
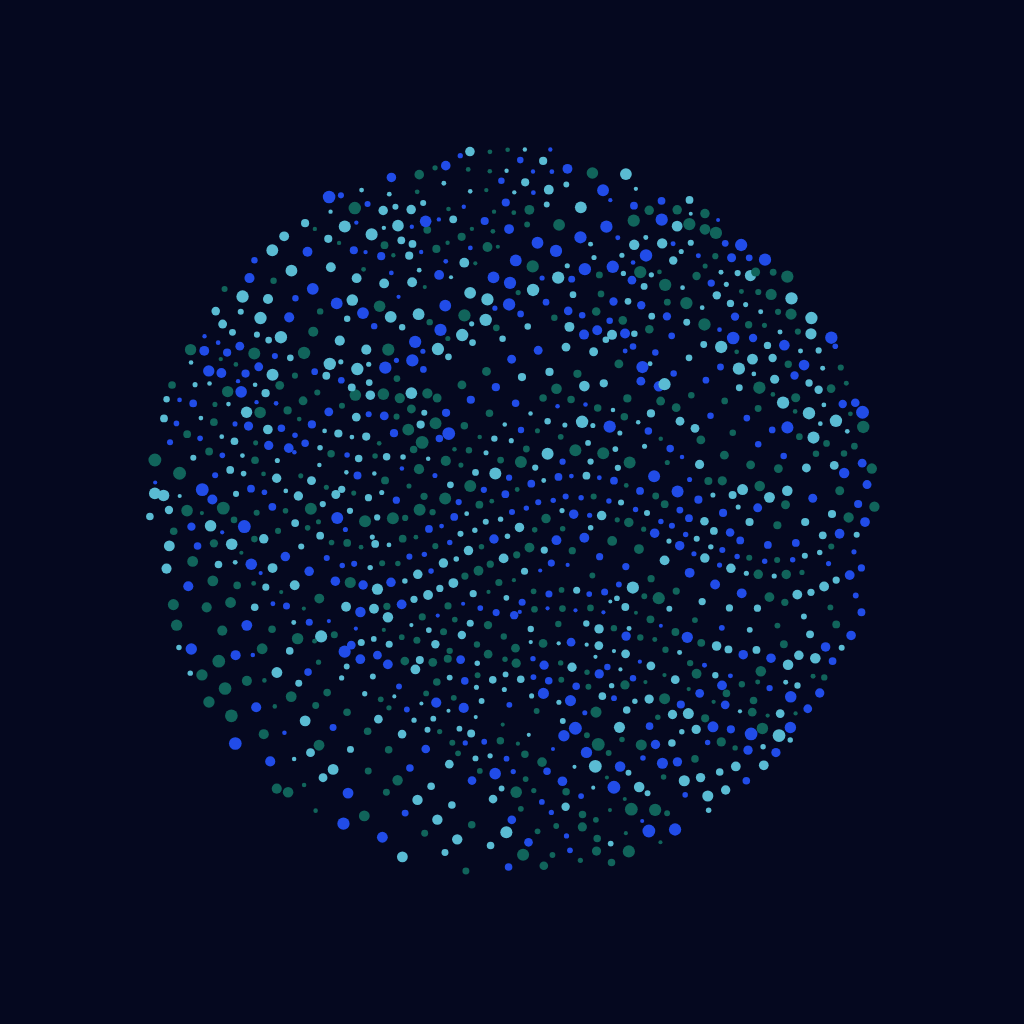 Earth
Earth
 Venus
Venus
Wrapping Up
While I'm happy with the progress I've made so far, there are several things I think could be improved.
Firstly, the interface is a bit clunky and can lag when changing certain settings. I think this could be improved by by debouncing the settings and only re-rendering the canvas when the user stops changing settings for a certain amount.
Secondly, the interface can be quite unintuitive at times. Playing around with the settings for a bit should make things clearer, but hints or a tutorial would be helpful.
Finally, I'd like to add more flow field types, line options, and rendering parameters. One technique from the paper I linked shows how tapering the line width at the ends of the lines can create a more hand-drawn aesthetic, which I like a lot. A variable number of colors, rather than a fixed palette, would also be nice.
Overall, I'm happy with the progress I've made so far, and I'm excited to bring the things I've learned to future projects.
I'll be back next week with another update!