Yet Another Slime Simulator
If you're just looking for the YASS editor, you can find it here.
This week, I learned a bit about WebGPU and built a slime mold simulator. As with last week, this is a project I've done before in Unity, but I felt it would be a good way to learn about WebGPU.
Programming the GPU
GPUs contain lots of small processing cores, which are designed to perform the same set of instructions on many pieces of data at once. We write special programs called "shaders" for the GPU, which are executed in parallel. This is what allows GPUs to be so much faster than CPUs for rendering graphics.
Traditionally, there are two types of shaders: vertex shaders and fragment shaders. Vertex shaders are used to transform the vertices of a 3D model into the right positions for them to be drawn to the screen, while fragment shaders are used to give the pixels their final color. These work together to create the final image that we see on the screen.
More recently, as the potential for GPUs to be used for more than just rendering graphics has become apparent, a new type of shader has been introduced: the "compute shader". Compute shaders allow us to write programs which operate on any type of data, rather than just vertices and pixels. We call this General-Purpose GPU (or GPGPU) programming. GPGPU programming lets us perform complex calculations, like physics simulations, machine learning, and more, all in parallel on the GPU.
Towards WebGPU
Graphics programming on the web is usually done with something called the Web Graphics Library, or "WebGL". WebGL comes with some major limitations, including no support for GPGPU programming. That's where WebGPU comes in.
WebGPU is meant to be a replacement for WebGL, with a more modern design and support for GPGPU programming. It's still fairly early days, but it's already available in Chrome (and Chromium-based browsers), and is in development for other browsers as well.
Simulating Slime Mold
Way back in 2021, Sebastian Lague made a video about simulating slime mold in Unity. The idea is based on this paper, which describes a simple model for simulating the behavior of Physarum, a type of slime mold. These molds are interesting because they exhibit complex behavior despite being made up of simple, single-celled organisms. As explained in the video, this behaviour is similar to the way ants are able to communicate with each other by leaving pheromone trails.
To simulate this behaviour, we'll create a bunch of "agents" and give each of them a position and a direction. On each frame, we'll use a compute shader to move each agent forward and have it leave a trail behind it. We'll also allow the agent to sense the trail left by other agents, and adjust its direction based on that. Given enough agents, we should see some interesting patterns emerge.
The Agent
Each agent follows the same set of simple rules:
- Look at three points in front of it, one directly ahead, and one slightly to either side.
- Turn towards the point with the most trail on it.
- Move forward a little bit, and leave a trail behind it.
 Anatomy of an agent
This is a simple model, but it's enough to produce some interesting behavior. The agents will tend to group together as they move around. We can also expose some parameters to the user, like the speed of the agents or the angle and distance at which they sense the trail. Changing these parameters can produce some wildly varied results.
The Trail
The trail left behind by the agents is kept in a texture. Each agent writes its own value to this texture as it moves, which the other agents can sense on the next step of the simulation. This is a simple way to simulate the pheromone trails left by real slime molds. On each step, we'll use a second compute shader to blur and reduce the amount of trail at each pixel, simulating the trail diffusing and evaporating over time.
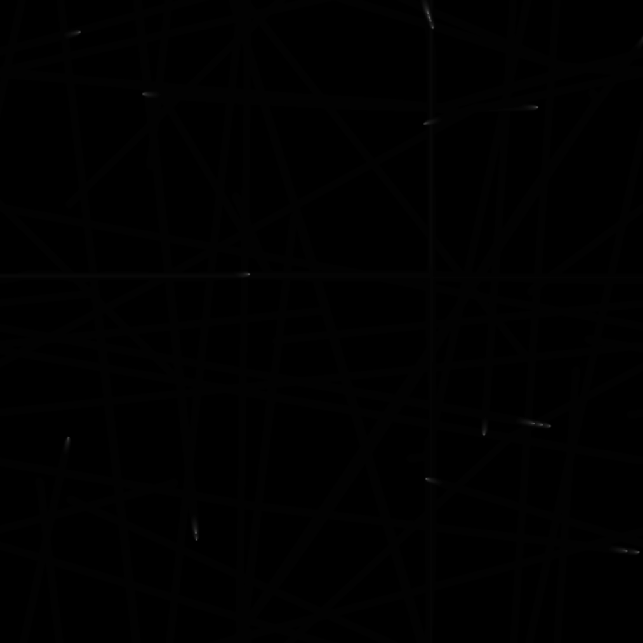 20 agents
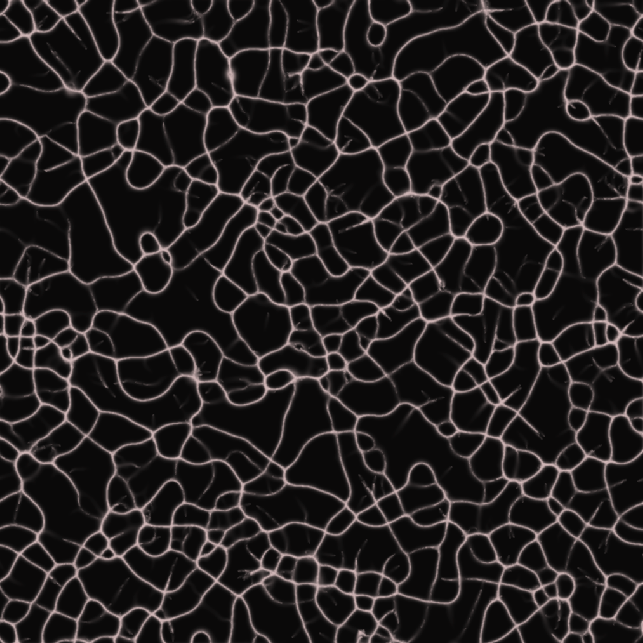 200k agents
Multiple Types of Agents
Having a single type of agent produces some neat results, but we can make things even more interesting by introducing different types of agents, each with their own settings. We can also introduce new settings for how the different types of agents interact with each other. For example, we can specify how attracted one type of agent is to its own trail, or how much it's repelled by the trail of a different type.
For this project, I created three types of agents, which can be configured with different settings. When we save the trail to a texture, I use the red, green, and blue channels to represent the trails of each type of agent.
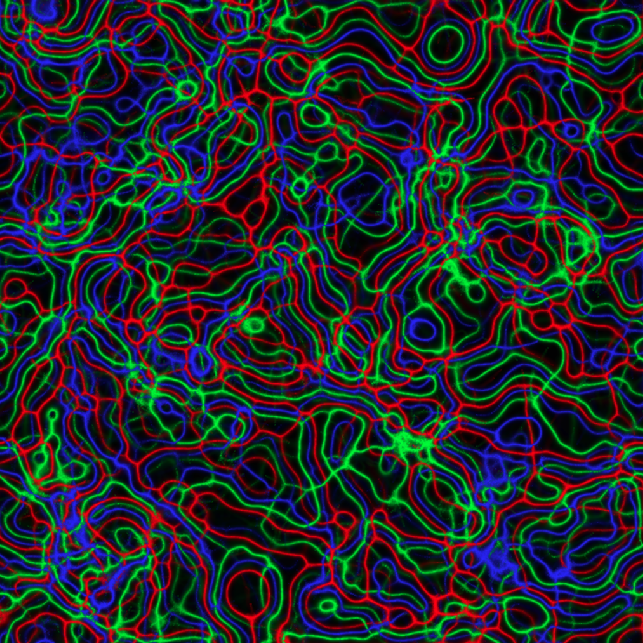 Agents that don't care about different types of trails
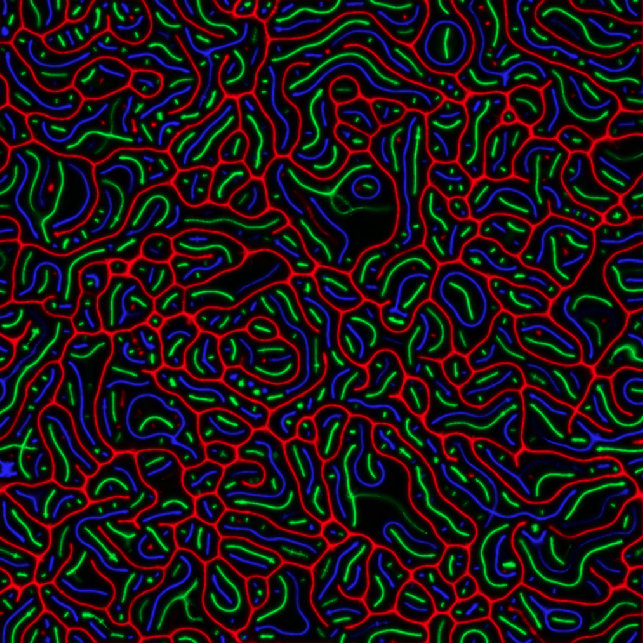 Agents avoiding different types of trails
YASS
I've named this project "Yet Another Slime Simulator", or YASS for short. While the editor is pretty limited (you can't change the number of agents, the size of the simulation, or turn off/on different types of agents), you can still change settings for each type of agent, like the speed, the angle and distance at which they sense the trail, and the color of their trail. You can also change the settings for how the different types of agents interact with each other.
I also added a "Randomize" button, which will randomize the settings for each type of agent. Clicking this button and seeing how the agents change is a lot of fun. The interactions settings are locked by default and won't change when you randomize the settings, but you can unlock them if you want to see some really wild behavior.
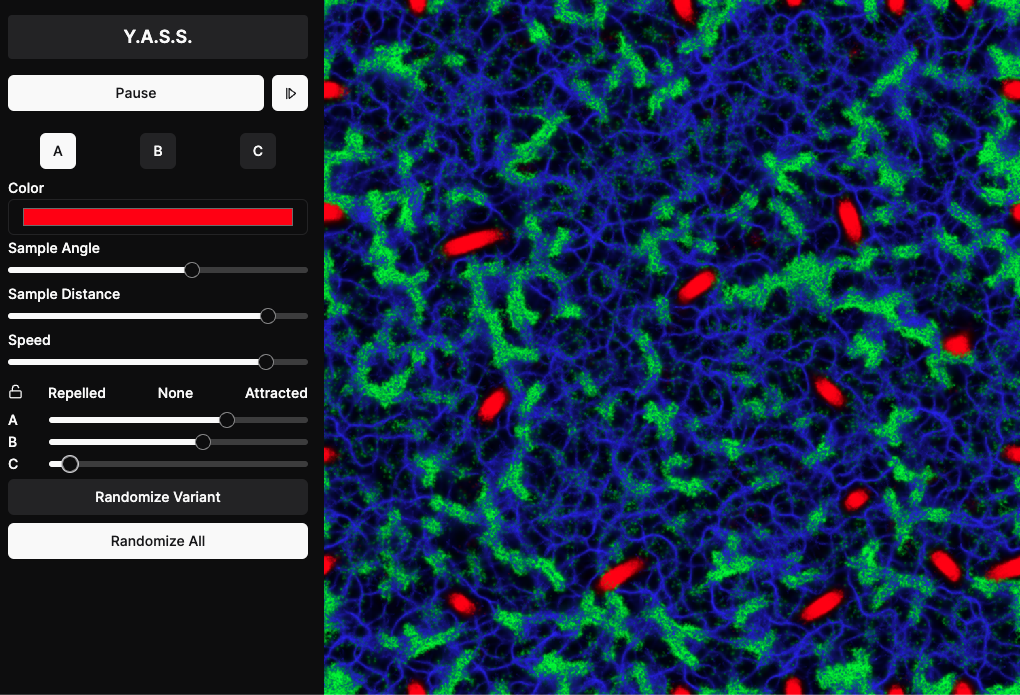 The YASS editor, as of this writing
Here are a few of the results I got from playing around with the settings:
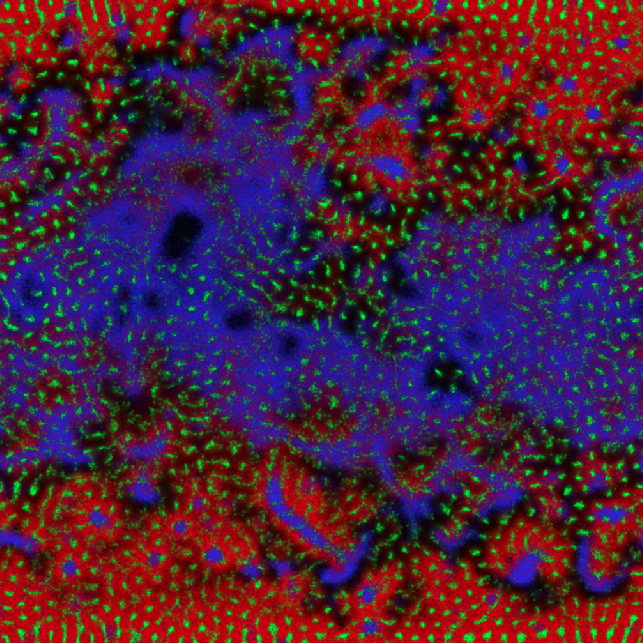 Gradient
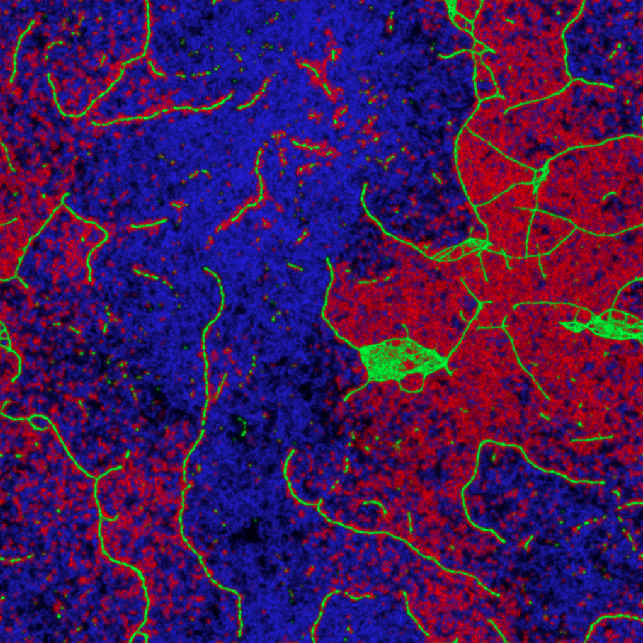 Under the Microscope
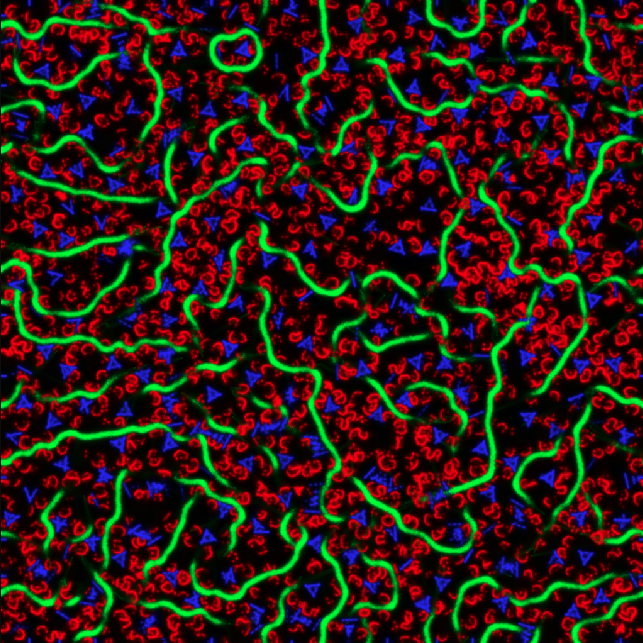 Alphabet Soup
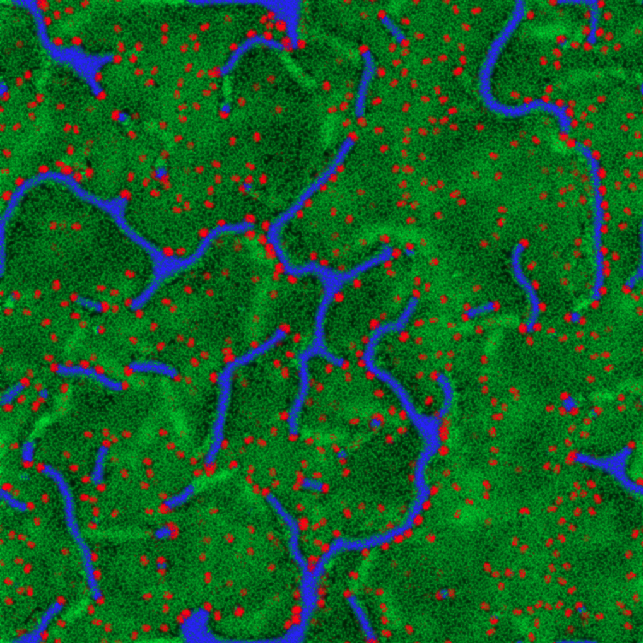 Rivers
Wrapping Up
If you'd like to try YASS for yourself, you can find it here. The code is also available on GitHub, though I should warn you that it's pretty awful. Also note that you'll need a browser that supports WebGPU to run it, so you'll need to use Chrome or a Chromium-based browser.
While this wasn't my first time building a slime mold simulator, it was my first time using WebGPU for a project. It was a little rough getting started, but I learned a lot about how WebGPU works and how to use it for GPGPU programming. I can think of tons of other projects I'd like to use WebGPU for, so expect to see more of it in the future.
The editor for YASS is limited, but I think it's a good start. I don't think I'll be adding more features to this iteration, since the code reflects my very limited understanding of WebGPU, but I can see myself revisiting this idea in the future, when I have a bit more experience with the technology.
See you next week!